
How to Prep Your Walls so the Paint Job Lasts for Years
Interior painting preparation for long lasting results starts with good planning and careful surface prep. Clean walls, smooth repairs, proper sanding, and the right primer all help paint stick better and wear longer. Rushing this stage often leads to peeling, chipping, or uneven color. If you take time to prep the space the right way, your paint job will look better and stay strong for many years.
What You Need Before Starting
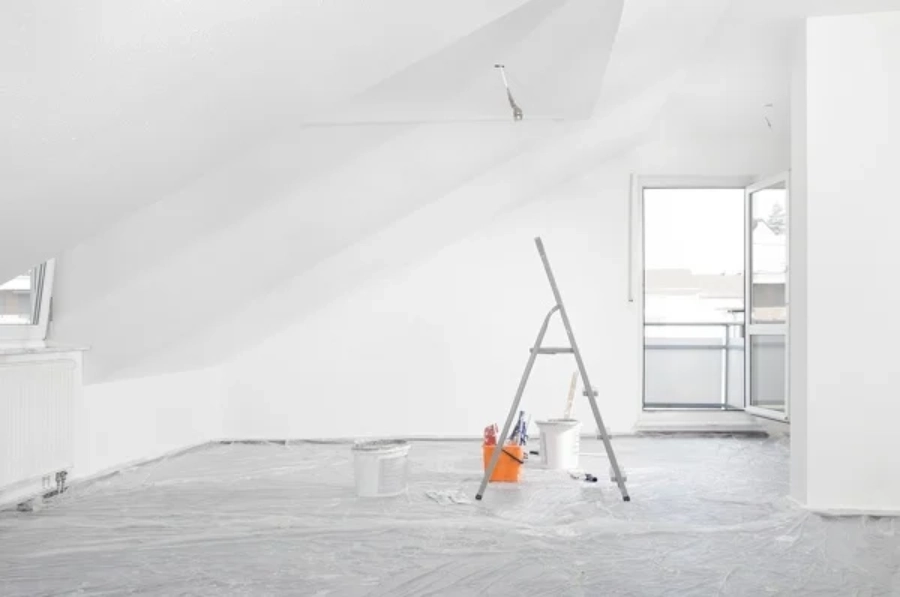
Before you open a paint can, gather the right tools and supplies. Having everything ready saves time and avoids mistakes halfway through the job.
- Drop cloths or plastic sheeting
- Painter’s tape
- Screwdriver for outlet covers
- Spackle or patching compound
- Putty knife
- Medium and fine grit sandpaper
- Clean rags or sponges
- Mild soap and water
- Primer matched to your wall type
Good lighting also helps. It makes small dents and cracks easier to see. Many interior painting problems start because damage was missed during prep.
Step-by-Step Preparation Process
Follow these steps to get walls ready for interior painting and strong, long term results.
- Clear the room. Move furniture out or place it in the center and cover it. Remove wall art and curtain rods.
- Take off switch plates and outlet covers. This gives you clean paint lines and avoids drips.
- Clean the walls. Use mild soap and water to remove dust, grease, and stains. Kitchens and bathrooms need extra cleaning.
- Repair damage. Fill nail holes, dents, and small cracks with spackle. Let it dry fully.
- Sand smooth. Sand patched spots and any rough areas so they blend with the wall.
- Remove dust. Wipe walls with a damp cloth to clear sanding dust.
- Tape trim and edges. Apply painter’s tape along baseboards, ceilings, and window frames.
- Apply primer if needed. Use primer on new drywall, repaired spots, dark colors, or stained areas.
Each step builds on the one before it. Skipping even one can lower the life of your paint.
Common Mistakes to Avoid
Many homeowners jump straight to painting. That often leads to early wear and uneven finishes.
- Painting over dirty or greasy walls
- Not sanding patched areas smooth
- Skipping primer on repairs
- Using low quality tape that peels paint off later
- Painting before walls are fully dry
Another mistake is rushing dry times. If spackle, cleaned walls, or primer are still damp, paint will not bond well. Interior painting works best on dry, clean, stable surfaces.
Why Primer Plays a Big Role
Primer helps paint grip the wall and creates an even base color. It also seals porous areas like new drywall or patched spots. Without primer, those areas may flash through the topcoat and look dull.
If you are covering a dark red wall with light beige, primer reduces how many topcoats you need. That saves time and gives better coverage. For long lasting interior painting, primer is often the step that makes the biggest difference.
When to Call a Professional
Some prep jobs are simple. Others take more skill and tools. You may want expert help if:
- Walls have large cracks or water damage
- There is peeling paint across big areas
- Ceilings are high or hard to reach safely
- You see signs of mold or stains bleeding through
Professionals can repair drywall, sand evenly, and apply primer the right way. This leads to smoother finishes and longer lasting results. In many homes, proper prep takes more time than the painting itself.
Get Long Lasting Results in Your Home
If you want interior painting that holds up to daily life in Hendersonville, NC, we are ready to help. At HB Pro Painting LLC, we focus on detailed prep work before any paint goes on the wall. That careful process helps our work last for years. Call us at (803) 769-4323 to schedule a consultation and let us handle the hard work from start to finish.